Adding a table of contents to a Ghost blog
I recently needed to add a table of contents to my blog post to make it more browsable. To my surprise, there was no built-in way to do it in Ghost, and the solutions on the internet range from terrible to nice and clean. If you're only interested in how to do it on your blog, you can skip all the details and go straight to the TLDR at the end that details each step.
Feb 2022 Update
The rest of this post is still entirely relevant, except for the class name of the post content. Replace every instance of post-content by gh-content and it should work fine.
Breaking through the clutter
When searching on Google, most of the answers you'll get are forum posts where people share their handcrafted Javascript code. Sometimes it's a little script with a bunch of hardcoded values, sometimes it even uses ancient libraries like jQuery, sometimes they ask you to add that into a .js file in your set up. Ew.
The proper way is to use a library that's been well-tested and is widely used. This way it's quick and clean, as opposed to quick and dirty.
I found two popular Javascript libraries that dynamically generate Table of Contents, hosted on CDNs:
- http://scrollnav.com/: https://github.com/jimmynotjim/scrollnav, 450 stars as of writing.
- https://github.com/tscanlin/tocbot: 830 stars as of writing.
Setting up TOC with scrollnav.js
Whether it's with scrollnavjs or tocboc, the process is the same.
- on Ghost, in Code Injection, Header Section, load the CDN hosted script in your header:
<script src="https://unpkg.com/scrollnav@3.0.1/dist/scrollnav.min.umd.js"></script>. - In the Footer Section, run their
initfunction. It comes with lots of options on how you want to generate your links (h1 and h2, or just h1), and where you want to introduce the table of contents. By default, the library parses only h2, but you probably need to show h1 instead, and optionally h2's. So here's the minimal settings you'd need to render :
<script>
const content = document.querySelector('.post-content');
scrollnav.init(content, {
    sections: 'h1',
    subSections: 'h2',
});
</script>
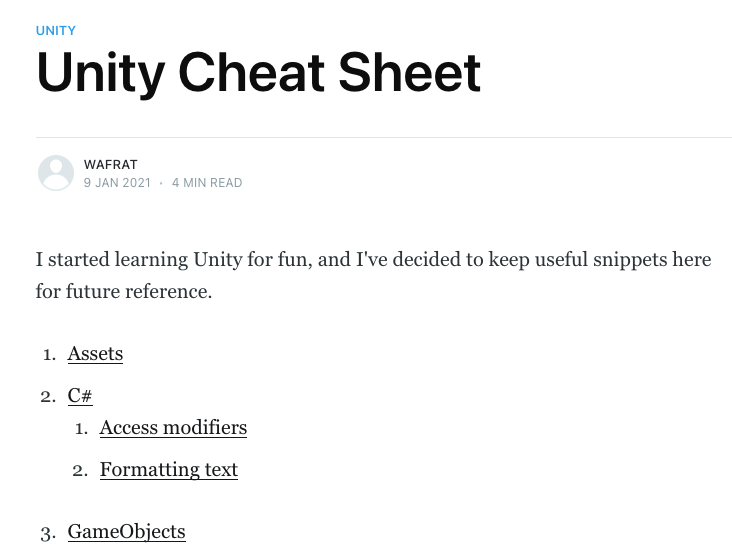
Here's what it looks like.
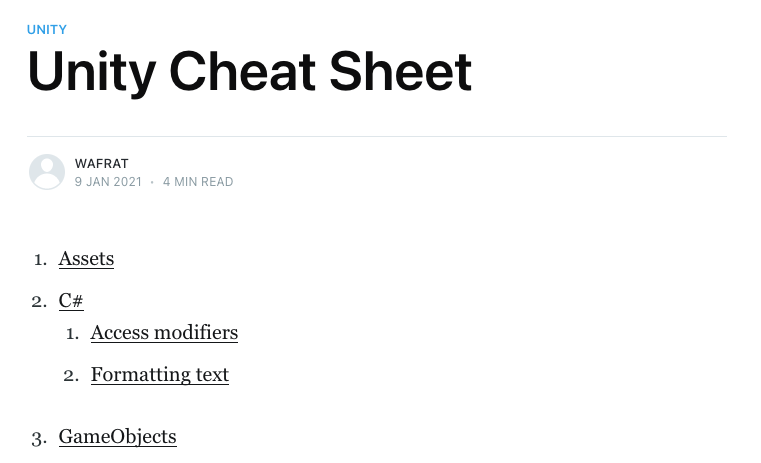
It's alright, but I'd rather have the intro paragraph first, then the TOC, then the content.
Refinements
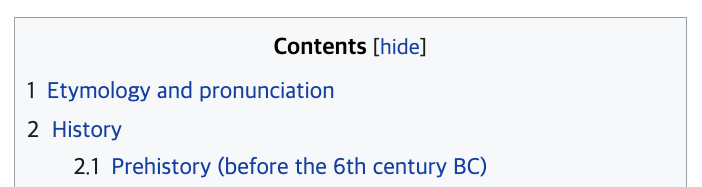
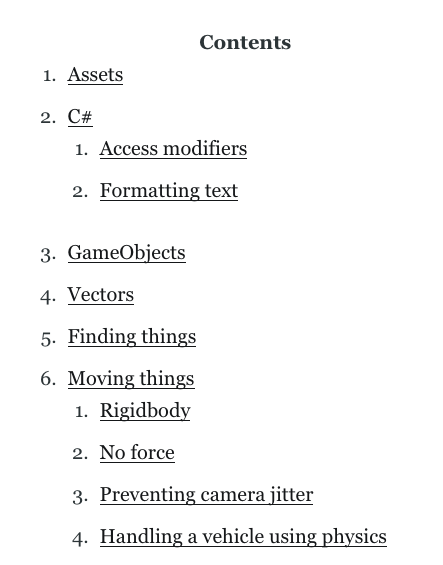
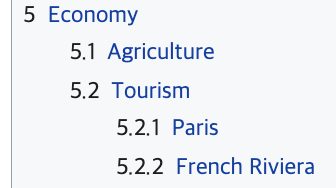
Functionally it is complete, but it doesn't quite feel like a proper TOC. So I'll make it look like the one in Wikipedia:
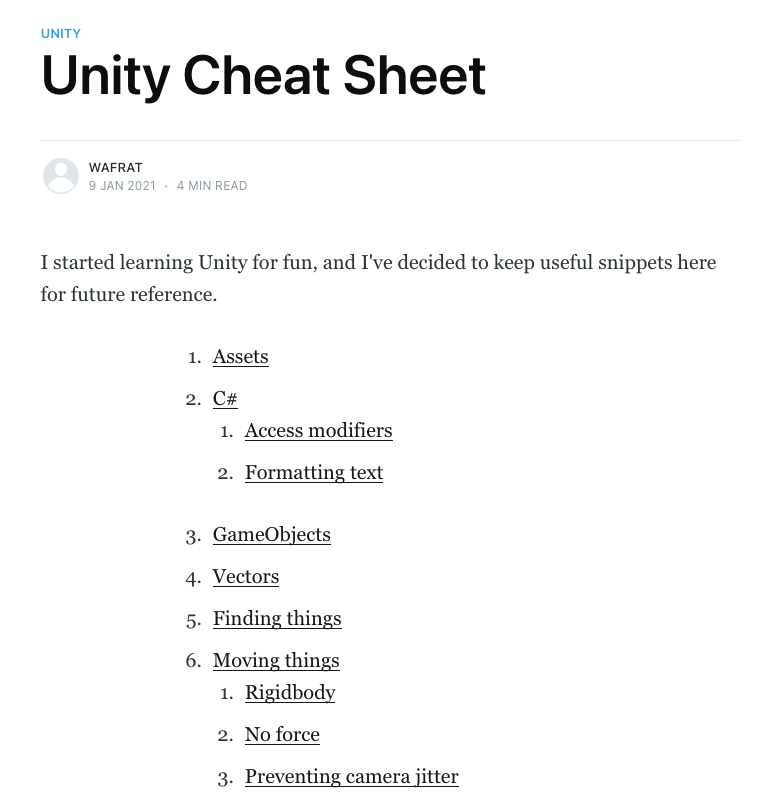
Place the TOC between the intro paragraph an before the content
On forums, people have tried to make the TOC sticky to the side, but once you start messing with fixed positioning, things get tricky quickly. If you don't support edge cases like when you scroll all the way down and the header expands, or small screens, it'll sometimes appear broken.
I prefer something simple: placing the TOC right after the intro paragraph, but before the post content. Using the script's well-documented settings, I set it up like so:
<script>
const content = document.querySelector('.post-content');
const introParagraph = document.querySelector('.post-content p');
scrollnav.init(content, {
    sections: 'h1',
    subSections: 'h2',
    // Insert the TOC right below the intro paragraph.
    insertTarget: introParagraph,
    insertLocation: 'after',
});
</script>
Now the TOC looks a bit broken because of Ghost's .post-content container has align-items: center;.
Referring to the trusty Complete Guide to Flexbox, I set up the navbar's alignment to align-self: flex-start by adding the CSS in the Site Header:
<style>
.scroll-nav {
  align-self: flex-start
}
</style>
Now there's one other issue where clicking those items is broken. I believe it's because I am putting the TOC inside the very content that it is parsing. So after initializing the TOC, I have to make it recompute positions:
scrollnav.updatePositions();
Even so, I've found that it's still an approximate scroll. It gets less accurate the further down you navigate.
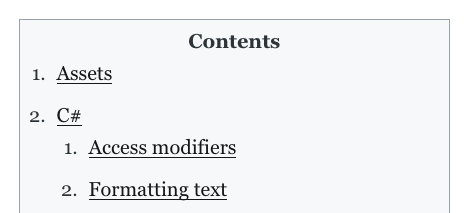
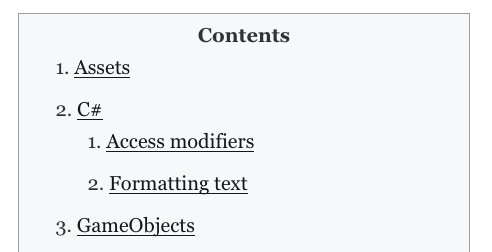
Add a Contents title
To add text in CSS, I use the ::before selector and content rules:
nav.scroll-nav::before {
  content: "Contents";
  display: flex;
  justify-content: center;
  font-weight: bold;
}
Border and background
The easy part, add some border, padding and background colors.
.scroll-nav {
  border: 1px solid #a2a9b1;
  background-color: #f8f9fa;
  padding: 5px;
}
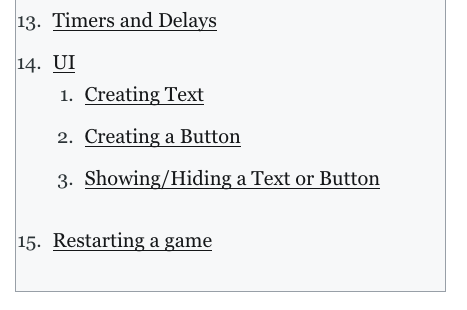
Fixing spacings
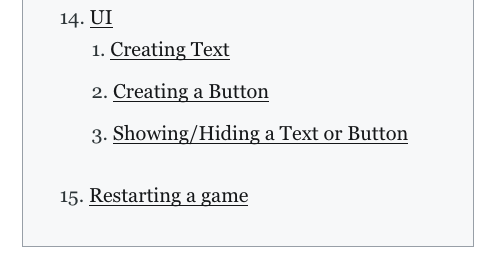
The added padding works, but it does not look symmetrical, especially when the list markers are longer:
This is because of Ghost's default CSS for lists that puts markers outside the list element:
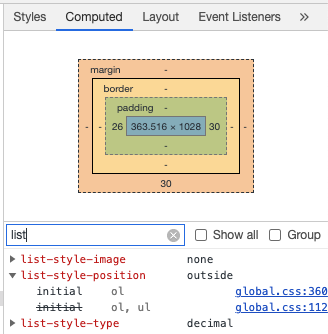
So I override this to inside for my TOC:
/* Move bullets inside. Applies to both first and second level list items. */
.scroll-nav ol {
  list-style-position: inside;
}
Much better!
Finally I don't like the huge space below sublists. It's due to Ghost's built-in CSS again:
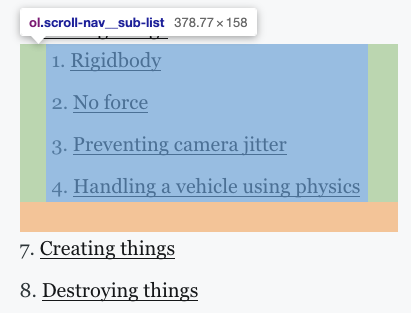
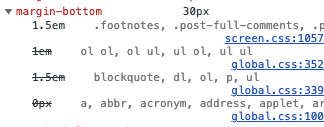
So I add a margin-bottom override:
/* Applies to both first and second level list items. */
.scroll-nav ol {
  ...
  /* Cancel out Ghost's default margin-bottom: 30px. */
  margin-bottom: 0;
}
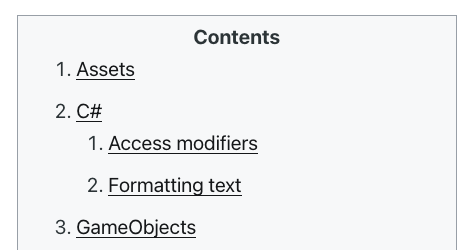
No serif font
In Ghost blog posts, links are like the rest of the text, and has serif. However headings use no serif fonts. Since the TOC links refer to headings, my personal preference is to make them no serif as well. To do that I use the same CSS rule as the one used in headings:
.scroll-nav {
  ...
  /* No-serif font like article headings. */
  font-family: -apple-system,BlinkMacSystemFont,Segoe UI,Roboto,Oxygen,Ubuntu,Cantarell,Open Sans,Helvetica Neue,sans-serif;
}
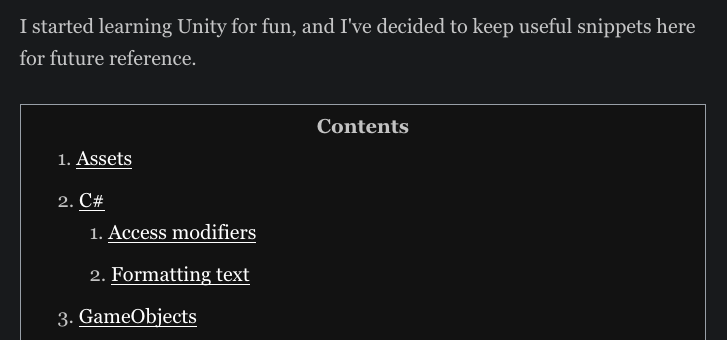
Supporting dark mode
In dark mode, the TOC appears broken.
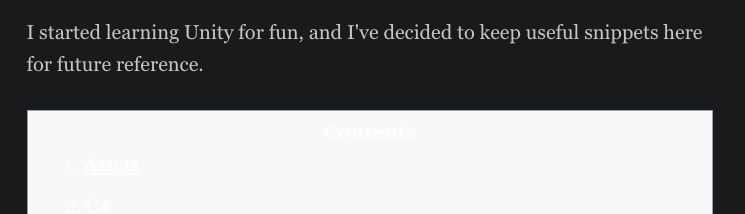
This is because I forgot to set the background color to a dark shade when in dark mode. With this media query, I can set another background color:
@media (prefers-color-scheme: dark) {
  .scroll-nav {
    background-color: #111;
  }
}
Wrapping it up
Now when we compare our TOC to Wikipedia's, we notice a few differences.
- The padding is slightly different, but that's not important. In both cases they are symmetrical.
- Our links are underlined, Wikipedia's links are underlined only on hover. This is to maintain consistency. Wikipedia links behave like this for the rest of the article. Ghost article links are all underlined.
- Markers contain the whole number. We can't easily do that because the marker used in the JS library are browser ones, and the ones shown in Wikipedia are generated ones.
- Only 2 levels of headings are supported. This is a limitation of the library. I posted a feature request on the project's repository. On a side note, tocbot supports this feature, but comes with its own sets of tweaks required to make it play nice with Ghost.
- No hide/expand button. Sure we could implement it in Javascript but I won't overcomplicate the settings.
One thing I might consider is either:
- Contributing to scrollnav.js to support 3rd level headings.
- Going through the same process with tocbot, and potentially explore its features. I saw that they support expand/collapse sections for example. For now I don't need any of them so I'll stick with scrollnav.js.
TLDR: just show me how to do it
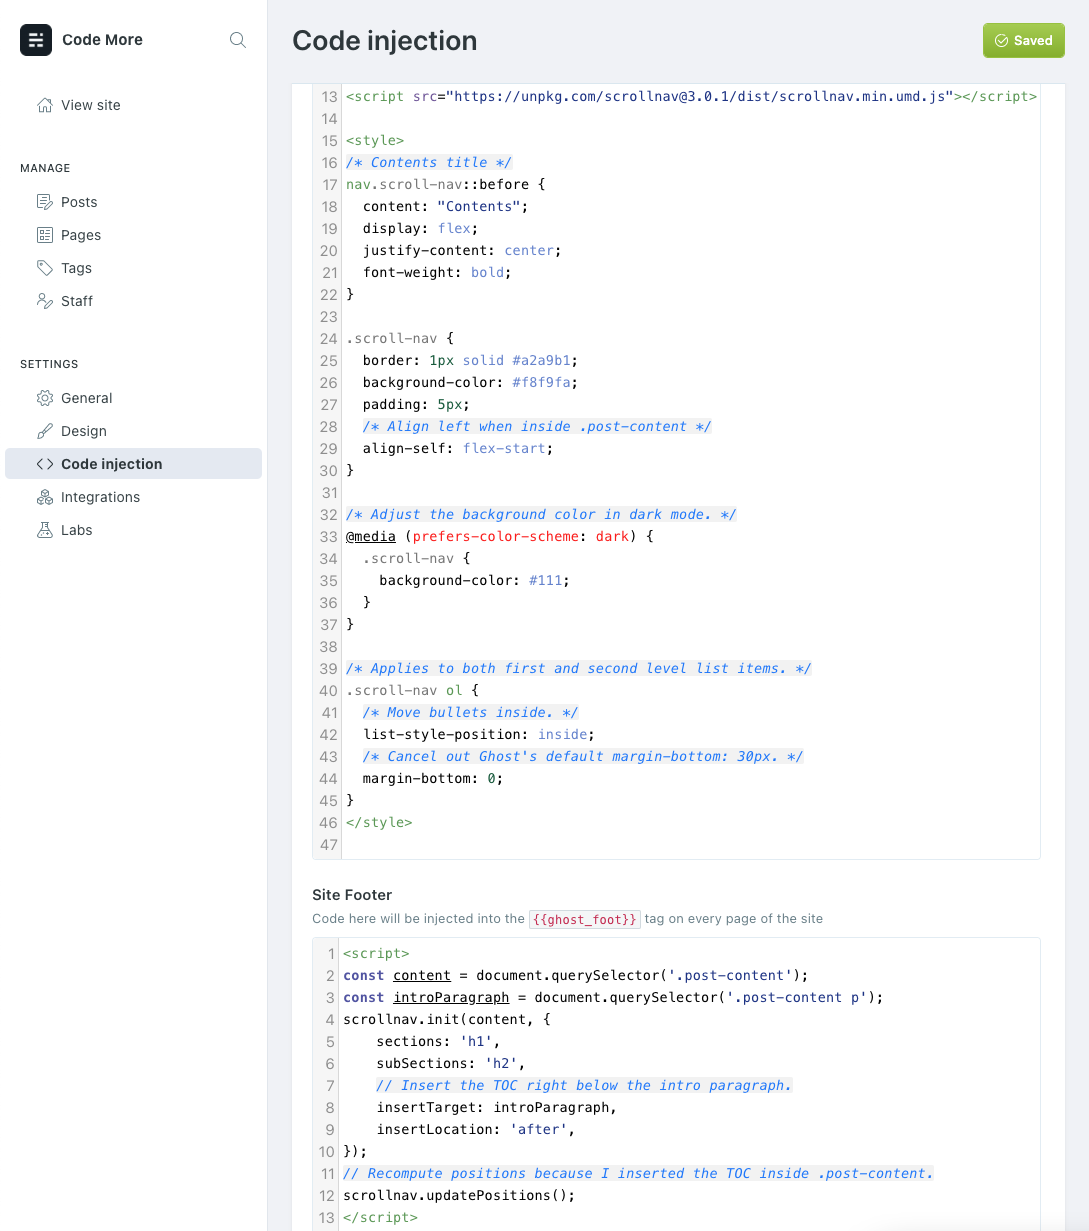
In the Ghost settings section, go to Code Injection.
Site Header
Add this snippet of code:
<script src="https://unpkg.com/scrollnav@3.0.1/dist/scrollnav.min.umd.js"></script>

<style>
/* Contents title */
nav.scroll-nav::before {
  content: "Contents";
  display: flex;
  justify-content: center;
  font-weight: bold;
}

.scroll-nav {
  border: 1px solid #a2a9b1;
  background-color: #f8f9fa;
  padding: 5px;
  /* Align left when inside .post-content */
  align-self: flex-start;
  /* No-serif font like article headings. */
  font-family: -apple-system,BlinkMacSystemFont,Segoe UI,Roboto,Oxygen,Ubuntu,Cantarell,Open Sans,Helvetica Neue,sans-serif;
}

/* Adjust the background color in dark mode. */
@media (prefers-color-scheme: dark) {
  .scroll-nav {
    background-color: #111;
  }
}

/* Applies to both first and second level list items. */
.scroll-nav ol {
  /* Move bullets inside. */
  list-style-position: inside;
  /* Cancel out Ghost's default margin-bottom: 30px. */
  margin-bottom: 0;
}
</style>
Site footer
Add this snippet of code:
<script>
const content = document.querySelector('.post-content');
const introParagraph = document.querySelector('.post-content p');
scrollnav.init(content, {
    sections: 'h1',
    subSections: 'h2',
    // Insert the TOC right below the intro paragraph.
    insertTarget: introParagraph,
    insertLocation: 'after',
});
// Recompute positions because I inserted the TOC inside .post-content.
scrollnav.updatePositions();
</script>