Unity Cheat Sheet for VR
This is similar to my previous Cheat Sheet for Unity post. This time the topic is VR.
Source:
Setting up a VR project from scratch
Where in the world is the XR Interaction Manager package?
- https://forum.unity.com/threads/xr-interaction-toolkit-1-0-0-will-be-held-in-pre-release-for-the-2021-cycle.1179469/
- https://docs.unity3d.com/Packages/com.unity.xr.interaction.toolkit@2.0/manual/index.html?_ga=2.203978576.1739228789.1643852167-1731527659.1642076961#installation
com.unity.xr.interaction.toolkit
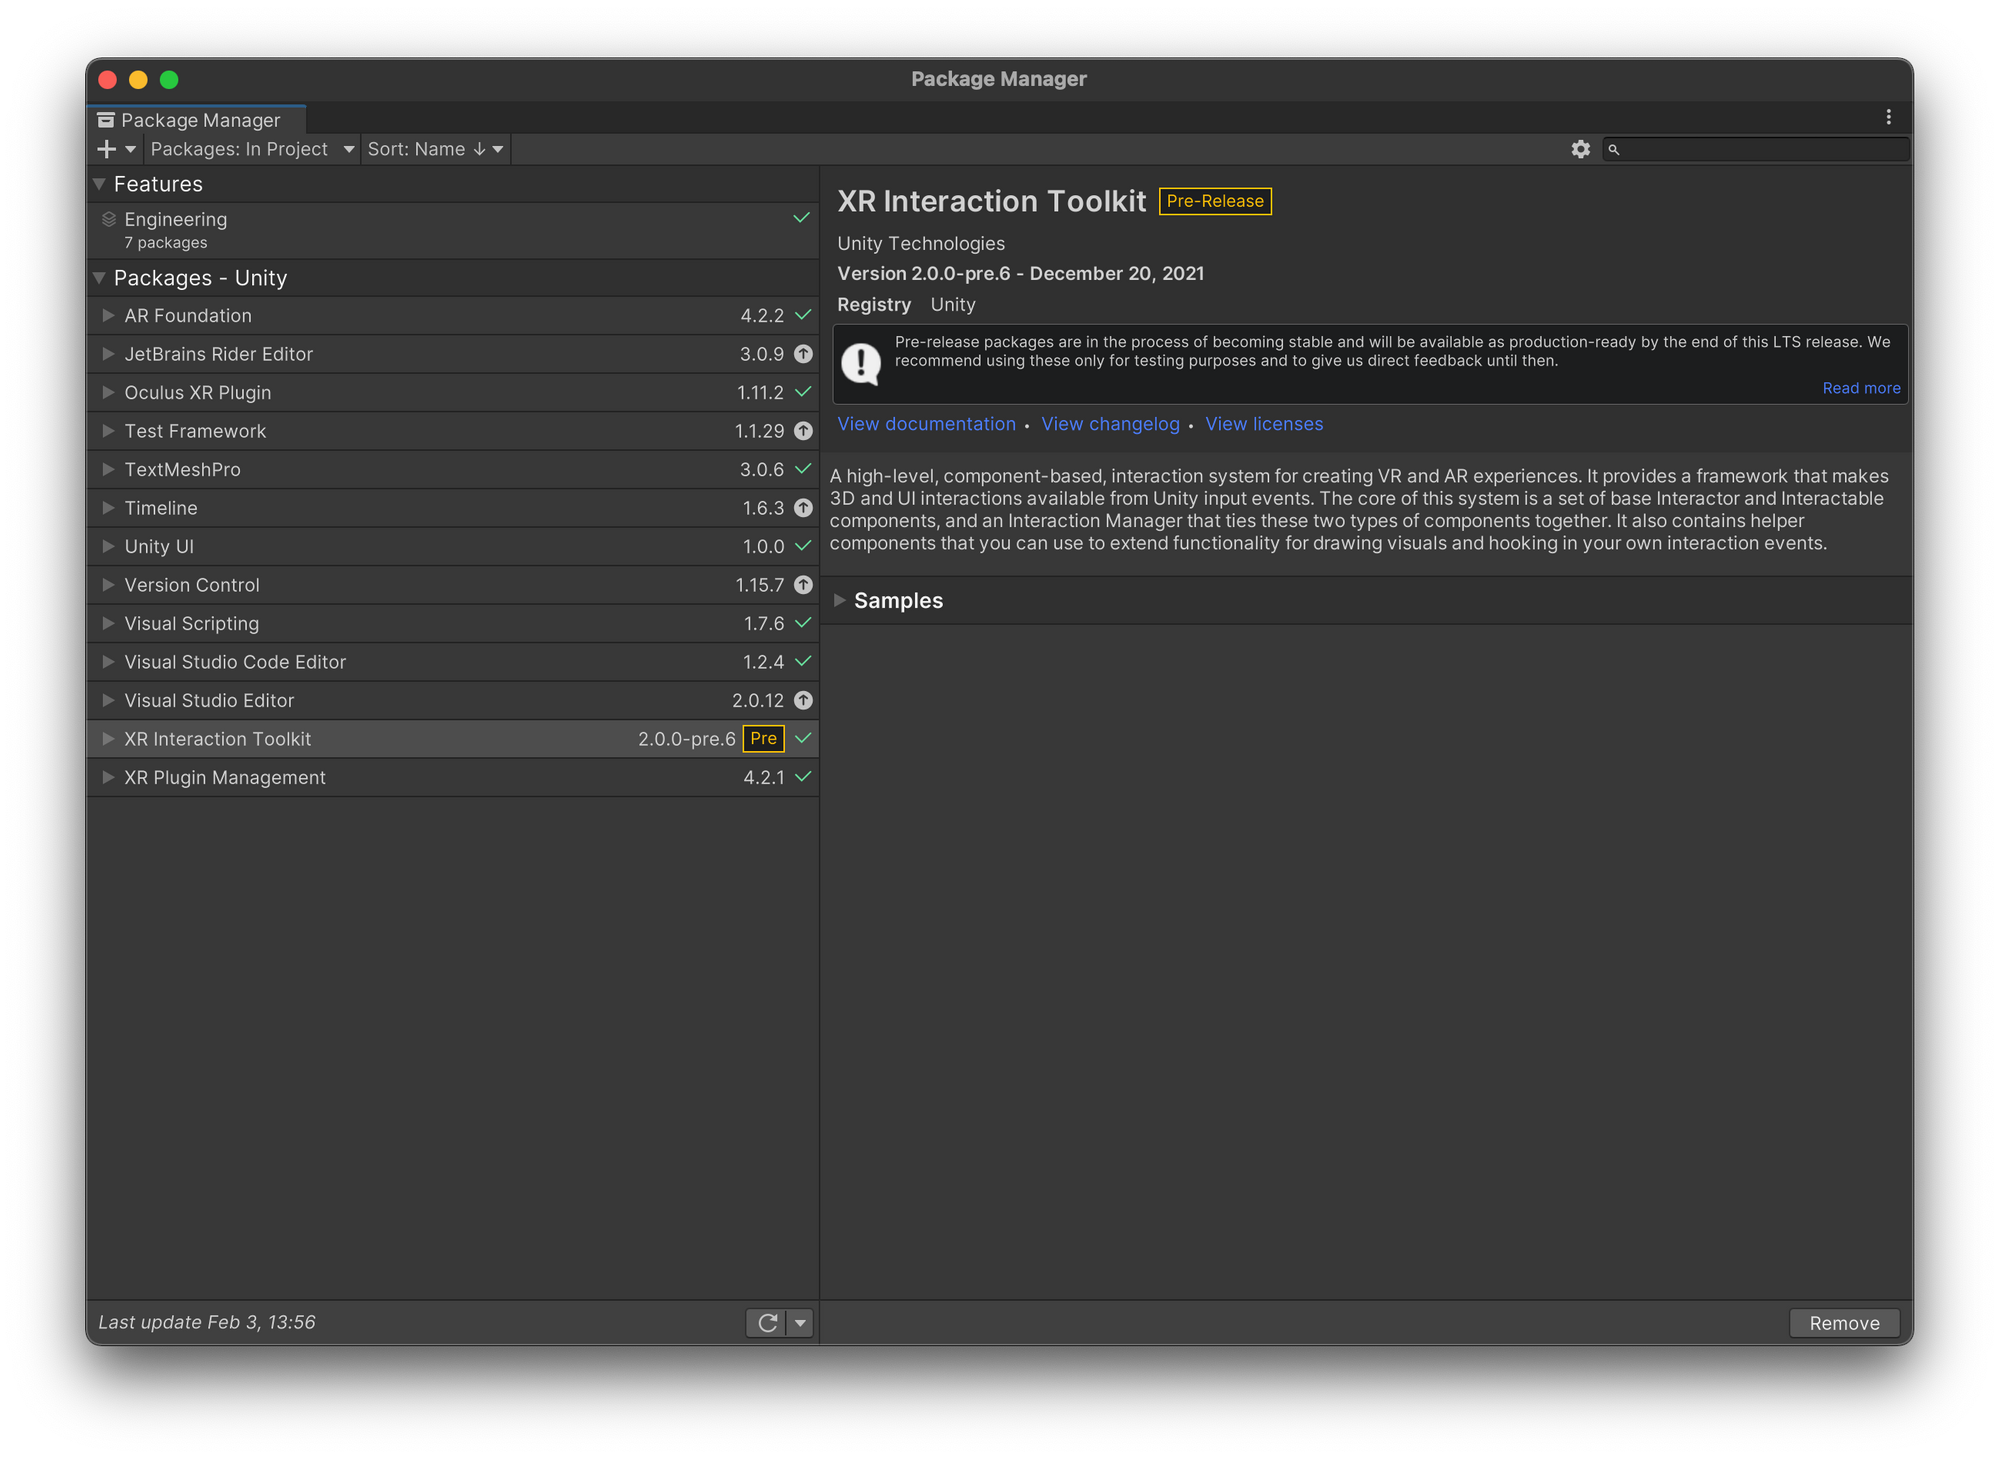
- Import the AR Foundation package, XR Interaction Manager and XR Plugin Management. See https://docs.unity3d.com/Packages/com.unity.xr.interaction.toolkit@1.0/manual/index.html.
Setting up the Scene
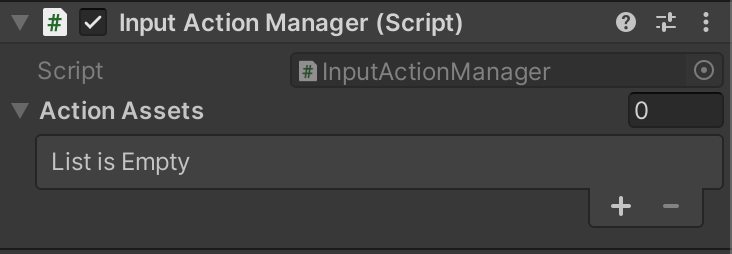
- Create a Game Object. Add an XR Interaction Manager component to it.
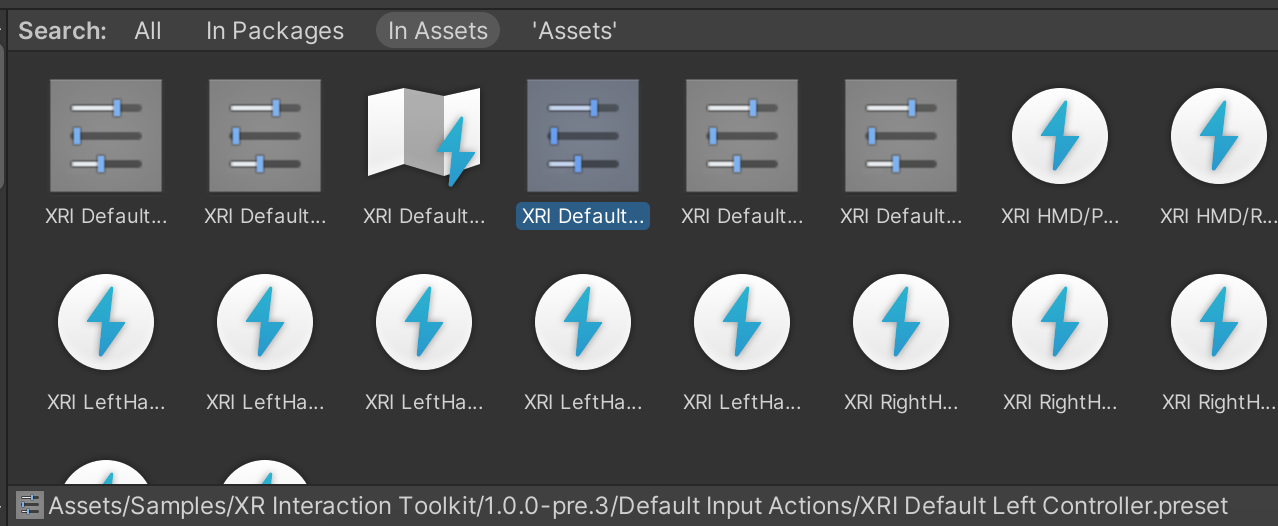
Input Action Manager. Assign the the XRI Default Input Actions.

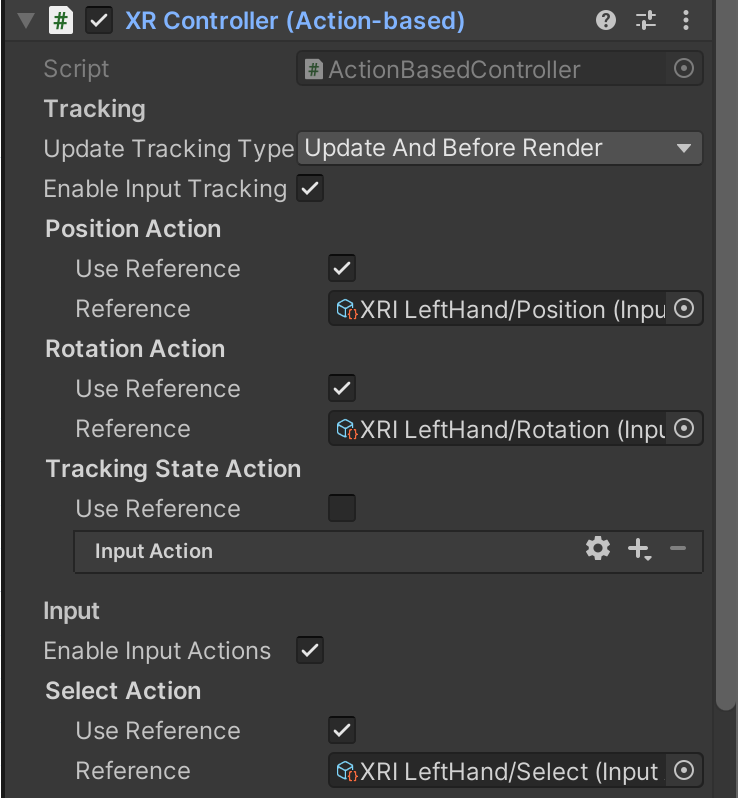
- Under XRRig, Camera Offset, create a GameObject called LeftHandController.
- Add an XR Controller (Action based).
- Assign a hand model to the Model Prefab field.
- Add a XR Direct Interactor or all of [XR Ray Interactor, XR Interactor Line Visual and Line Renderer].
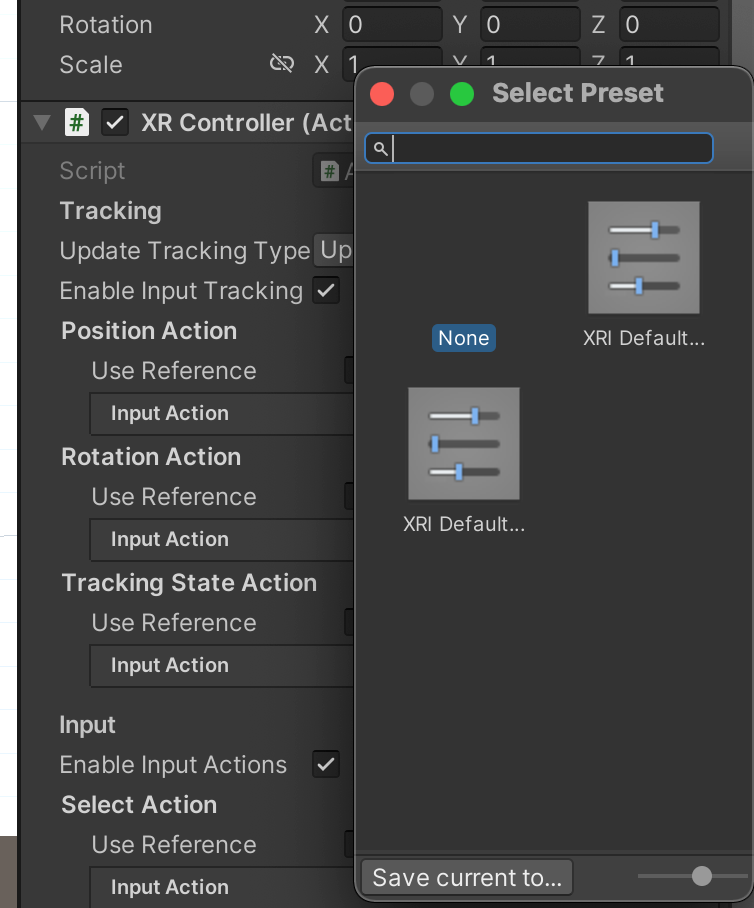
- Use the XRI Preset for the Direct Interactor. They're available in the XR Interactor Examples on GitHub.
Testing without a VR device
Source: https://learn.unity.com/tutorial/vr-project-setup.
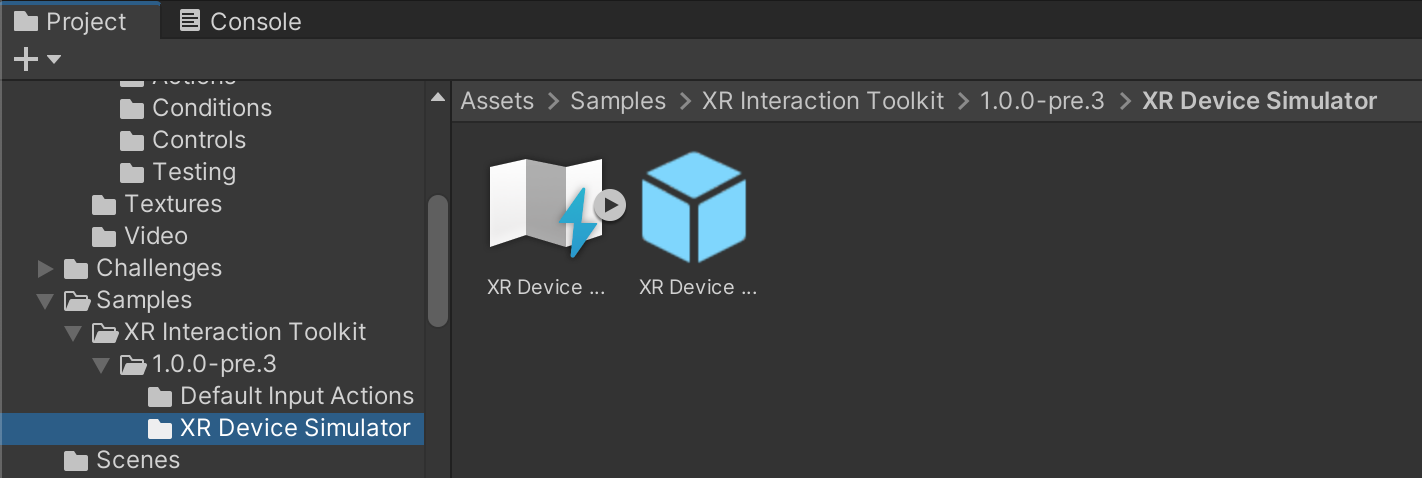
In the Project window, open Samples, XR Interaction Toolkit, XR Device Simulator. Drag the prefab into the hierarchy. Play. You can now use the mouse and keyboard to simulate a VR device. You should disable this Simulator if you use a real device later.
Go to the Source page to download the list of shortkeys.
Notes:
- The XR Device Simulator is included only in the Start with VR project. But if you import the latest XR Interaction Toolkit package (2.0.0-pre as of writing), it won't be included.
- If the XR Device Simulator is enabled, you won't be able to manually move the left or right hand from the Scene tab.
XR Rig
Controller position and velocity
See https://docs.unity3d.com/Manual/xr_input.html.
Haptic feedback
Programmatically
Audio feedback
Objects
- Add an Audio Source.
- Set Spatial Blend to 3D to make the sound depend on the user location and orientation.
- Set the Volume Roll off to how the sound will sound depending on the distance.
Reverberation
- Select your room.
- Add a Audio Reverb one.
- Set the min and max distance.
- Pick a preset, eg Living room or something else.
Bonus
Try the Oculus Spatializer for Unity for more audio effects. Once imported, you can:
- In an Audio Source, check new boxes: Spatialize, Spatialize Post Effects.
- Add an ONSP Audio Source. It can let you reflect sound off surfaces, among other things.
Activation events
- Download the scripts at https://learn.unity.com/tutorial/2-2-activation-events.
- To the object that will play a sound, Add an empty Audio Source. Set Spatial Blend to 3D.
- Add the Play Quick Sound to the object which will play a sound when activated. Drag and drop the Sound Clip you want it to play.
- Head over to the object's XR Grab Interactable, expand Interactable Events, add a callback for On Activate (press the trigger) or On Deacticate (release the trigger).
- Set the callback to the object's Play Quick Sound's Play method.
- Optional: go to the Input Action Manager, tweak the mapping between controller buttons and resulting actions.
On top of playing a sound, you could also change an object's material (eg light an LED) using the Change Material script.
They also provide a script to play video on a Video Player. Set the obect's screen's Material Property to _Basemap. Then in the On Activate callback list, add one to call the Video Player's TogglePlayPause method.
Showing/Hiding pointing Rays
Disabling the Ray Interactor altogether
- On the XR Rig's Left and Right hand controllers, remove the XR Ray Interactor, XR Interactor Line Visual and Line Renderer.
- Instead, add an XR Direct Interactor.
- Add a Sphere Collider. Enable "Is Trigger". Adjust the Radius. .1m is a good value.
- Check "Hide Controller on Select" to hide the hands when you pick up an object.
Selectively disabling the Ray Interactor
- Create a new layer called "Raycasts".
- Move the objects you want to allow ray-casting on to the newly created "Raycasts" layer.
- In the XR Ray Interactor, set the Interaction Layer Mask to the "Raycasts" layer.
It is also possible to keep both Interactors on each hand. In the tutorial, they put the Ray Interactor in an empty GameObject.
More scripts
- On Button Press. Bind a path (eg XR Controller, Left Hand, Optional Controls, primary button) with a callback.
Using hands as controllers
See https://developer.oculus.com/documentation/unity/unity-handtracking/.
User Interface
- Create an XR, UI Canvas.
- Make it smaller. A scale of .01 is a good start.
- Set Render Mode to World Space.
- Set Order in Layer to 1, so that it is on top of everything else.
- Add regular UI components like UI, Text (TextMeshPro), Button (TextMeshPro), Image.
- Disable raycasting on components where we don't want to raycast. For Images, it's the Raycast Target flag. For Text (TextMeshPro), expand Extra Settings to find the Raycast Target flag.
To make Buttons respond to a click, add a callback to the On Click event.
Other useful scripts
Teleport Player
Teleports the player. Set the Anchor to a teleportation Anchor like a mat in the tutorial. Set the Provider to the XR Rig.
ShowMessagesFromList
To go through several strings when the user clicks Next. Call NextMessage() to switch a Text (TextMeshPro) to the next message. The Component fires the OnComplete event when there are no more messages to display.
Manually Select Object
Used in the paint tutorial. When the user pushes a button, it attaches the Paintbrush interactable. This way, the user doesn't have to find the Paintbrush and pick it up.